CHECKjars to make sure there are no nicks, cracks, uneven rims or sharp edges which may prevent sealing or cause jar breakage. Always use new lids. Bands can be reused. Wash jars, lids and bands in hot, soapy water. Rinse well. Dry bands to prevent rusting.
PREPARE boiling water bath canner by filling half-full with water and keep water at a simmer while covered with lid until jars are filled and placed in canner. Make sure your rack is resting on the rim of the canner or on the bottom, depending on the type of rack you are using. You don’t necessarily need to purchase a boiling water bath canner if you don’t already have one at home. Most kitchens have pots that can double as boiling water bath canners. A boiling water bath canner is simply a large, deep saucepot. The pot must be large enough to fully surround and immerse the jars in water by 1 to 2 inches and allow for the water to boil rapidly with the lid on. If you don’t have a rack designed for home preserving, use a cake cooling rack or a silicone trivet to cover the bottom of the pot.
HEAT home canning jars in hot water, not boiling, until ready for use. You may use your water bath canner for this purpose or a difference pan depending on your work space. Fill a large saucepan, or stockpot half-way with water. Place jars in water (filling jars with water from the saucepan will prevent flotation). Bring to a simmer over medium heat. Keep jars hot until ready for use. You may also use a dishwasher to wash and heat jars. Keeping jars hot prevents them from breaking when hot food is added. Leave lids and bands at room temperature for easy handling.
PREPARE tested preserving recipe using fresh produce and other quality ingredients.
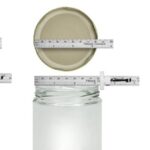
REMOVE hot jar from hot water, using a Jar Lifter, emptying water inside jar. Fill jar one at a time with prepared food using a Jar Funnel leaving headspace recommended in recipe (1/4 inch for soft spreads such as jams and jellies and fruit juices; 1/2 inch for fruits, pickles, salsa, sauces, and tomatoes). Remove air bubbles, if stated in recipe, by sliding the Bubble Remover & Headspace Tool or rubber spatula between the jar and food to release trapped air and ensure proper headspace during processing. Repeat around jar 2 to 3 times.
CLEAN mason jar rim and threads of jar using a clean, damp cloth to remove any food residue. Center lid on jar allowing sealing compound to come in contact with the jar rim. Apply band and adjust until fit is fingertip tight. Place filled jars in canner until recipe is used or canner is full. Lower rack with jars into water. Make sure water covers jars by 1 to 2 inches.
PLACE lid on water bath canner. Bring water to a full rolling boil. Begin processing time.
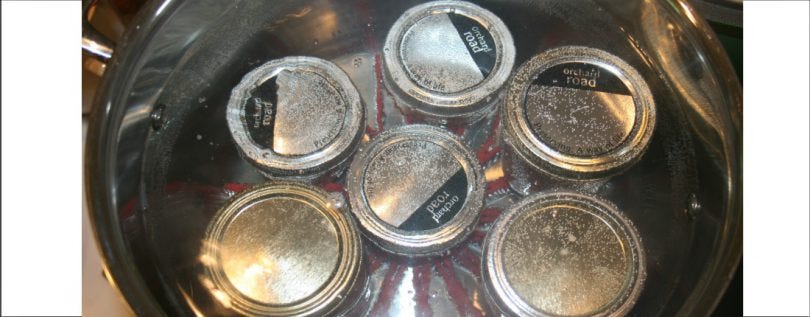
PROCESS jars in the boiling water for the processing time indicated in tested preserving recipe, adjusting for altitude. When processing time is complete, turn off the heat and remove the canner lid. Allow jars to stand in canner for 5 minutes to get acclimated to the outside temperature.
REMOVE jars from canner and set upright on a towel to prevent jar breakage that can occur from temperature differences. Leave jars undisturbed for 12 to 24 hours. Bands should not be retightened as this may interfere with the sealing process.
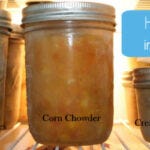
CHECK jar lids for seals. Lids should not flex up and down when center is pressed. Remove bands. Try to lift lids off with your fingertips. If the lid cannot be lifted off, the lid has a good seal. If a lid does not seal within 24 hours, the product can be immediately reprocessed or refrigerated. Clean mason jars and lids. Label and share then store in a cool, dry, dark place up to 1 year.
Diane Mayfield
Posted April 14, 2021 at 11:57 am | Permalink
This is really good information for new canners as well for us that have doing it for years and years. It is always good to refresh and to perhaps correct some of our habits..


This is really good information for new canners as well for us that have doing it for years and years. It is always good to refresh and to perhaps correct some of our habits..