
How to Pressure Can Venison
Pressure canning venison is quite easy, saves freezer space, and produces a shelf-stable, ready-to-use product that tastes amazing. Here, we share the simple steps of how to pressure can venison. This basic recipe can also be used for canning cubes or strips of elk, beef, pork, bear, or lamb. Raw pack or Hot pack is acceptable. You might consider hot pack if you are ordering meat from a supplier/butcher and your cuts of meat are very lean. In this case, there may not be enough liquid produced to cover the meat if packed raw. Most wild meats will contain enough moisture and can easily be cold-packed. The tables from NCHFP provide guidelines for both raw and hot pack.
Preparing
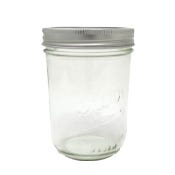
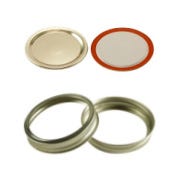
Start with good quality meat with the excess fat removed. You may prefer to soak wild meats in a salt brine for 1 hour. (1Tbs salt per quart of water). Rinse the meat well and remove bones. Plan enough time to preheat your pressure canner. Follow instructions on your pressure canner based on the size of jars, size of your canner, etc to determine how much water should be in the canner. You will need to use jars that are suitable for pressure canning: Ball/Kerr and 2-piece lids.
Hot Pack
Prepare the meat and broth: Cook meat just until rare (you can roast it, cook it in stew fashion, or brown it with some fat). Keep any meat juices or meat drippings and make a basic broth. You may need to add some water to the broth in order to have enough to cover your meat in the jars and bring it to a boil.
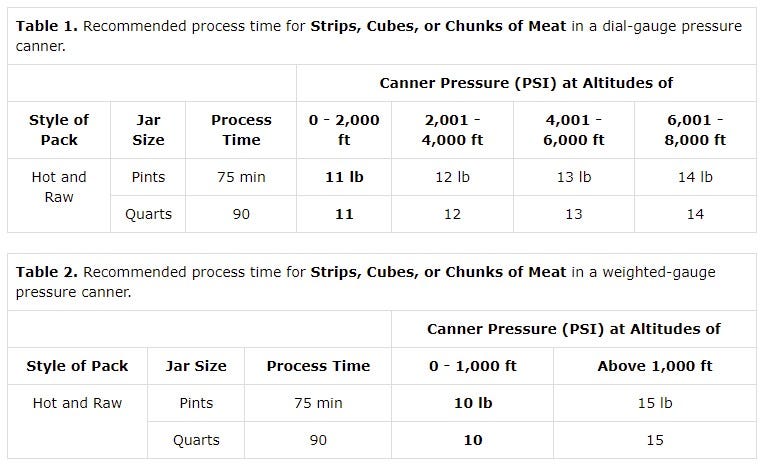
Jarring the meat: Add 1 tsp of salt to each quart jar (optional). Fill the jars with meat pieces/cubes, cover with broth, allowing 1 inch of headspace. *Seasoning options – You may add a bit of bouillon and/or onion to your jars for added flavor and tenderness. Remove air bubbles. Wipe rims of jars to ensure they are clean and clear of debris. Apply 2-piece lids and finger tighten the bands. Carefully place jars into your preheated pressure canner and proceed according to your pressure canner instructions and following the time and pressure guidelines in the table below. Once processing is complete allow to cool according to canner instructions before removing jars. When jars are cooled and bands are removed, label them and store in a cool dark place.
Cold Pack
Jarring the meat: Add 2 tsp of salt to each quart jar (optional). Fill the jars with meat pieces/cubes, allowing 1 inch of headspace. Be aware of air pockets and try to remove them. *Seasoning options – You may add a bit of bouillon and/or onion to your jars for added flavor and tenderness. Do not add liquid. Wipe rims of jars to ensure they are clean and clear of debris. Apply 2-piece lids and finger tighten the bands. Carefully place jars into your preheated pressure canner and proceed according to your pressure canner instructions and following the time and pressure guidelines in the table below. Once processing is complete allow to cool according to canner instructions before removing jars. When jars are cooled and bands are removed, label them and store in a cool dark place.
Pressure Canning Chart – Venison
Additional Resources:
Processing of wild game and fish from Penn State’s Extension
Sharon at Simply Canning has a number of helpful posts on pressure canning meats and venison.


I have new “Home Brand ” pint wide mouth decorative jars I bought to use for jelly. Can I pressure cook meat in those jars? They look like regular ball or Kerr jars but with fruit like decorations on them.
Hi Barbie,
It’s usually safe to assume that decorative jars are not suitable for canning…particularly for pressure canning. Unfortunately, this isn’t a brand we carry, so we can’t speak specifically to it. What we can say is that unless we know a jar has been designed with pressure canning in mind, we can not recommend it.