
How to Make & Preserve Turkey Stock
Updated November 2023
The holidays are a great time to learn how to make turkey stock. All of the large meals and gatherings usually result in many leftovers. In this post, we offer some tips on how to make the most of your turkey and holiday food prep that will help you reduce waste and stress! The resulting stock can be pressure canned for your pantry, frozen or used right away for a soup, stew, or another recipe.
Plan a little…
Before you begin meal prep, try to carve out some space in your freezer where you can store your bulky but basic ingredients for your Turkey stock – the turkey carcass and vegetable scraps – until you have the time to make your stock. This way, you’ll be more likely to take the time to keep them when you’re actually doing meal prep and when you’re done carving the turkey. If you don’t already squirrel away vegetable scraps for stock, this is a great time to start. It’s also a great reason to collect them all year round. I keep them during the summer months, along with scraps from all of our chicken bbq meals to cook off during a rainy spell or early fall. I make a big batch of chicken corn soup and keep the remaining broth for use later. You can follow this process for chicken broth as well.
Here’s what you can toss into a container in the freezer to add depth and richness of flavor and nutrients to your turkey stock:
- Onions of any kind, including shallots: skin, top, root end
- Scallions: anything you don’t use.
- Garlic: skin, any trimmings
- Carrot: skin, root, tips
- Celery: any and all of it, although leaves are better put to use fresh in soups and salads.
- Turnip: any and all of it.
- Fennel: in moderation (due to unique flavor profile) bulb and fronds.
- Tomatoes: skin, seeds, flesh, pulp, tops.
- Mushrooms: any and all of them, but particularly the stems.
- More delicate herbs like parsley and thyme; woody herbs (in moderation) like rosemary or sage: stems and stuff that are in danger of going bad.
- Leeks: root end and green tops.
Please note…do not put actively rotting things into this collection…but it is a good way to save items that you suddenly realize you’re not going to be using in time and are in danger of going bad. Obviously, this is not a list of “must adds”, but a list of “may adds”. Some of these items may never be found in your kitchen, and that’s okay!
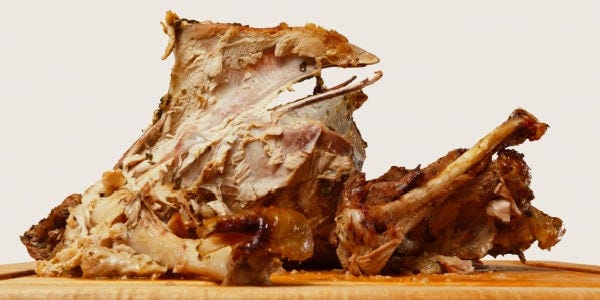
The Turkey…when you roast it, you’ll want to carve and remove as much meat as possible while it’s warm. However, if you simply don’t have time, you can toss it into the freezer and deal with it later. Be sure to save all of the juices from the roasting. You can make gravy with some of it, but be sure to put the rest of those juices into the freezer to add to your stockpot.
Make the Stock
When you know you have time to allow a large pot to simmer on the stove for a while, or in a crockpot while you’re at work, pull the turkey carcass and veggies out of the freezer.

- Remove meat: If you ran out of time/energy when carving the Turkey and left more meat than you would’ve liked, you may want to put the carcass in a with a couple of inches of water into your stock pot (a pasta basket works nicely) in order to warm it up without boiling the meat again. You can lift the carcass out to finish pulling the meat, which can be set aside for soup or added to a portion of your stock and frozen or pressure canned.
- Once you don’t plan to pull any more meat, return the carcass to the pot, add your scrap veggies, any remaining juices from your initial roasting, and add enough water to cover the bones.
- If you don’t have as many frozen veggie scraps as you’d like, raid your produce pantry, add additional onion (cut in half), a few stalks of celery and a couple carrots (both cut into large pieces) along with a few peppercorns, and trim some of what’s left in your herb patch.
- Cover and simmer 1 – 2 hours. Chicken or Turkey broth doesn’t require as long of a cook time, but if you’re including vegetables, the longer duration will result in deeper flavors. You can taste test it at 1 hour.
- Pull out large pieces and strain the broth. Depending on how much clarity you desire, you can strain it again, through a cheesecloth. Discard the solids, composting what you can.
- Allow the broth to cool a bit. This will allow the fats to separate for easy removal. Skim the fat off.
- You may add salt to taste at this point.
Storing the Stock
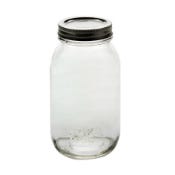
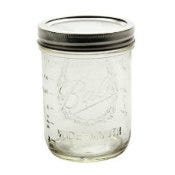
Freeze it – Jar it…and freeze. Yes, you can freeze certain mason jars. Get tips on freezing in mason jars .
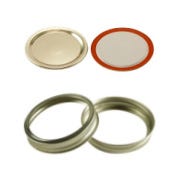
Pressure Can it – so that it’s shelf-stable. It is important to use canning jars and lids suitable for pressure canning. See mason jars recommended for pressure canning.
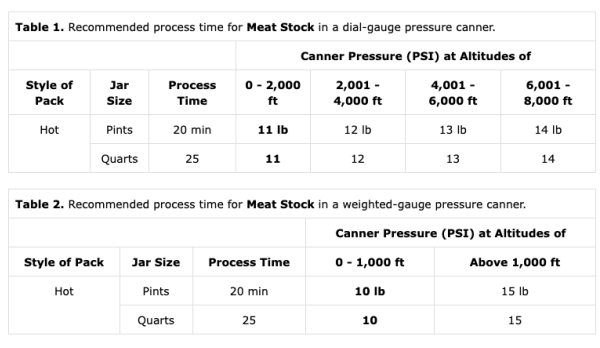
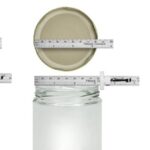
Reheat broth to boiling and fill canning jars, leaving 1-inch headspace. Wipe rims of jars with a dampened clean paper towel. Adjust lids and process following the recommendations in Table 1 or Table 2 according to the type of pressure canner used.
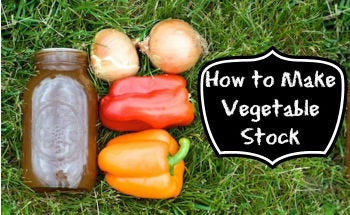
Learn how to make a fantastic Vegetable Stock.
Food Independence Resources
Get resources to increase your food security, food independence and household supplies. How-To’s, tips, workshops and classes, instructions, recipes, supplies and more on our Food Independence Pinterest Board.
Frugal & Sustainable Kitchen Resources
Get recipes, tips and resources to help you save money, time and energy, space….and to make the most of your produce and pantry on our Frugal & Sustainable Kitchen Pinterest Board.


0 Comments