Preparing to Preserve the Harvest – Part 1
Although some folks continue to preserve all year around, for many of us, spring time brings on a significantly greater opportunity to preserve the harvest at the peak of freshness. Over the years, we’ve prepared for many such seasons, and though we might not follow through on each of our preparing & preserving goals, there are some that are worth mentioning every single year.
Preserving Goals & Keeping Record
These two practices are so incredibly helpful, and depending on where you are in your preserving journey, can really have an impact on how you perceive the value of your preserving labors.
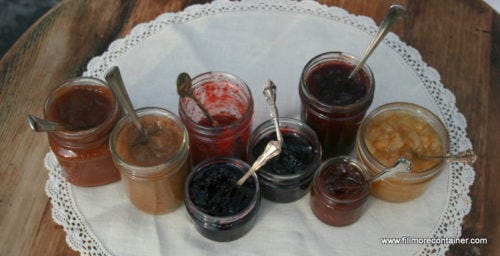
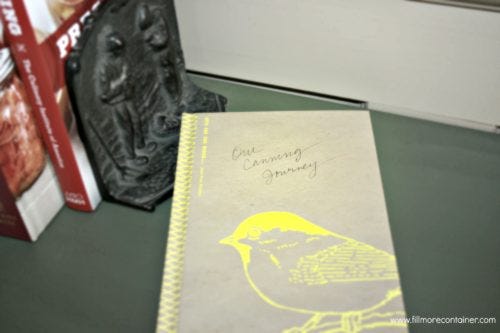
On Keeping Record: whether it’s in journal form, spreadsheet form or scrawled on loose paper in your pantry, it will help!
- Basics – dates, volume of produce that you started with, recipe &/or process used, actual preserved yield.
- Research – notes on any variations from the recipe; addition of herbs or spices; alterations you’d try on your next batch (such as adjusting amount of Pomona’s Pectin or sugar); observations to compare recipes or processes, or even comparing different strains of produce.
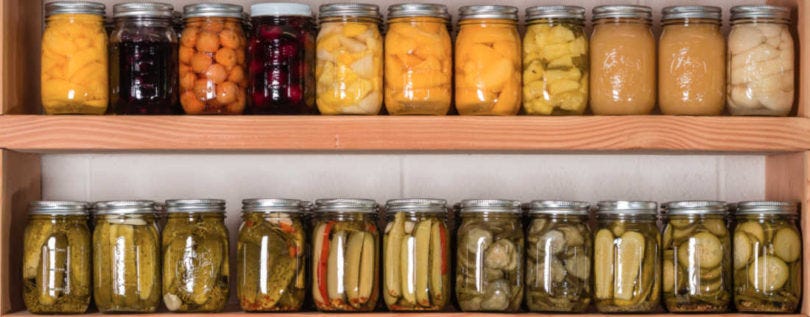
Taking Stock:
- Check dates & Check for Spoilage – Make sure that your oldest foods are being used first. Depending on your storage limitations, it can be inconvenient to rotate your stock, but it’s an important task and best done whenever you add freshly preserved items. Do a visual check of seals and quality. If something is unsealed discard it. If any of your preserves look discolored it could be a sign it has spoiled, it is best to discard it. Here are 7 signs of spoilage that will help you evaluate if you need to toss any preserves, and here’s the best way to discard bad preserves.
- Update Your Inventory Records – Determine what’s left in your pantry – Re-evaluate how your consuming patterns matched up with your preserving patterns. A preserving journal is a great way to track this. You may decide to skip something this summer, or do more of something else.
- Consider some of these tips & tricks from Joel & Dana; creators of Batch Cookbook; on managing your pantry –
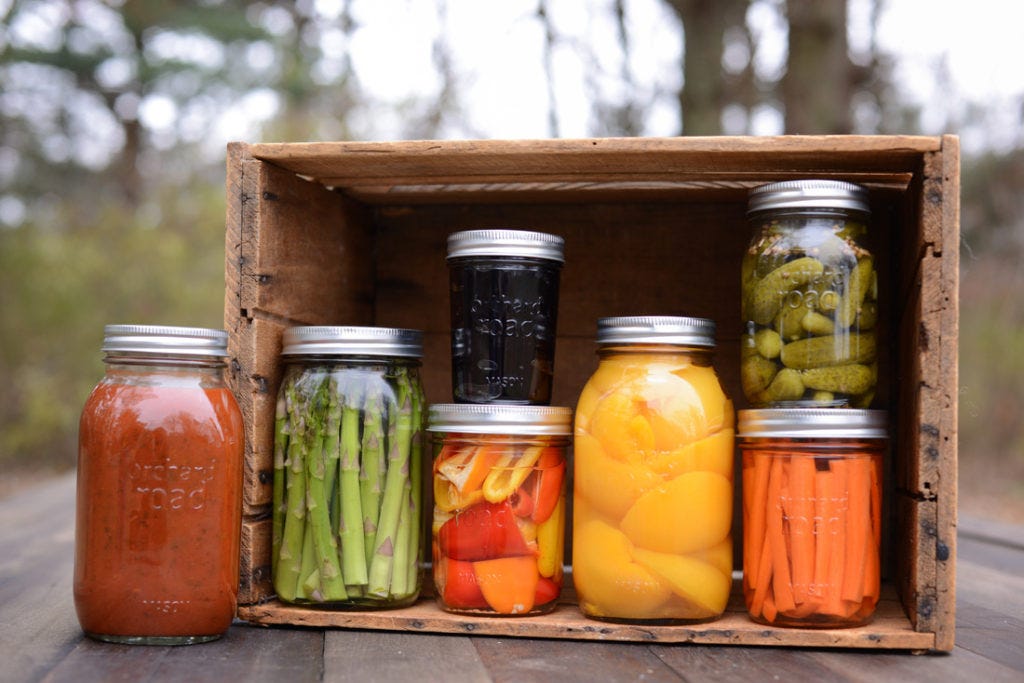
Organize your shelves in groups. Keep jam with jam and pickles with pickles – it makes things easier to find. If you do multiple styles of preserving you can use different types of jars for each style. We use vintage jars for dehydrated goods, patterned mason jars for most of our waterbath and plain jars for our pressure canning. Don’t be afraid to write on the lids – it’s an easy fix. We are big fans of the Sharpie paint pen for labeling jars (we just write on the side, it washes off later).I use a giant ‘hole punch’ to cut out lid-sized discs to label jars with. The discs are re-usable and easily replaceable. When storing dried goods (such as flour or sugar) I’ll cut a piece of the package out and place it between the lid and the ring to know what’s inside. Have a shelf reserved for one-off jars or jars you want to use soon so help prioritize what preserves you’ll work with first and to make them easy to find. If you’re storing items inside boxes label the contents on a sheet of paper and stick it to on the outside where you can read it. Writing on paper makes the box re-usable!4. Marisa McClellan of Food in Jars, offers these 3 organizational tips.
1.Create dedicated space for your gear. Pots, jars, tools, and accessories all have assigned spots in my apartment, so that I always know where to find what I need.
2. Spreadsheets. Late last year, I inventoried every single jar in my apartment and entered everything into a spreadsheet. Now I know (down to the location and year made) where every jar of jam, pickles, and tomato sauce lives. It is a serious upgrade to my previously haphazard system.
3. Limit extra gear. There was a period there where I felt compelled to have back-ups of everything. Now I have two sets of gear (one that lives in my kitchen, and another that’s travels with me for classes). More than that is just too much.
Setting your Preserving Goals:
- Make a Plan – Consider what new things you may try this year and plan for what you may need to add. Pull together the recipes that you know you want to make, and those you’d like to try. Perhaps the past year has brought certain health or dietary concerns to light. Seek out recipes that will help you meet those goals – you’ll likely find some ideas below.
Gathering Resources:
- Find links to resources like the USDA’s complete guide to home canning, how to locate pick your own farms; find your local extension office and other really helpful resources here.
- Learn what’s in season, and when it’s in season in your area with this cool tool.
- If you are a beginner or veteran preserver, here are some things to consider.
- Read about canning techniques including how to use one-piece lids, how to can in hex jars, and how to help prevent jar breakage and other canning tip.
- Hone your skills by taking a class. Food in Jars, Simply Canning Living Homegrown, and your local extension office are a few places to start.
- If you are trying to cut back on your processed sugar intake, try Pomona’s Universal Pectin. Get the lowdown on low-sugar pectins here.
Read part 2 of this series, Planning to Preserve the Harvest, which is about how to make sure that your preserving toolbox is up to date, stocked and ready for action!


Wow! What a wealth of information! I’m going to utilize many of your suggestions…hopefully, that will help me not end up with 27 jars of jam and NO tomato sauce like I did this year!
We wish you a successful preserving season!