
How to Make Milk Kefir
Several years ago, Amanda Pfeifer of Phickle, spent some time sharing some of her fermenting expertise at our Preservation Station – such a treat! She graciously shared some of her Milk Kefir grains (SCOBY) with us and we’ve been enjoying them ever since! We’ve continued to feed them, and they’ve continued to reproduce and we’ve shared them with friends.
Lately, I’ve been getting questions about milk kefir… and since it’s time to share some more of the SCOBY, I thought it would be timely to also share how easy it is to care for them! It really is so easy and if you’re trying to increase your probiotics, this is a very inexpensive way to accomplish that.
Here’s how I got started:
I put my grains into a pint jar, filled it about 3/4 full with milk and put it in the refrigerator to rest until I was ready to start. The jar gets a label stating the date that it goes into resting. (This is helpful when I have several jars, and could be helpful as a reference if you were trying to trouble shoot; a little more scientific). I imagine that Amanda shared some of her whole milk with me, but since then, I’ve used whole and most often 2% Milk (homogenized) and the grains continue to grow. The refrigeration slows down their activity, so the grains can last quite a long time at rest.
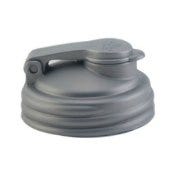
If my kefir supply is getting low, I get the jar of resting grains in milk out of the refrigerator and top it off with fresh milk. Then I set the cap on the jar to allow it to breath, but to keep particulates out and set it in a visible place on my counter (out of direct sunlight). When this was new to our family, I put a “Don’t Touch” label on it to avoid accidents. I let it set out for between 8 – 24 hours until it is noticeably cultured. The temperature, type of milk, and other factors play a role in the rate of fermentation. Sometimes it separates out like in the photo above, but not usually. Winter time ferments don’t always behave in the same way.
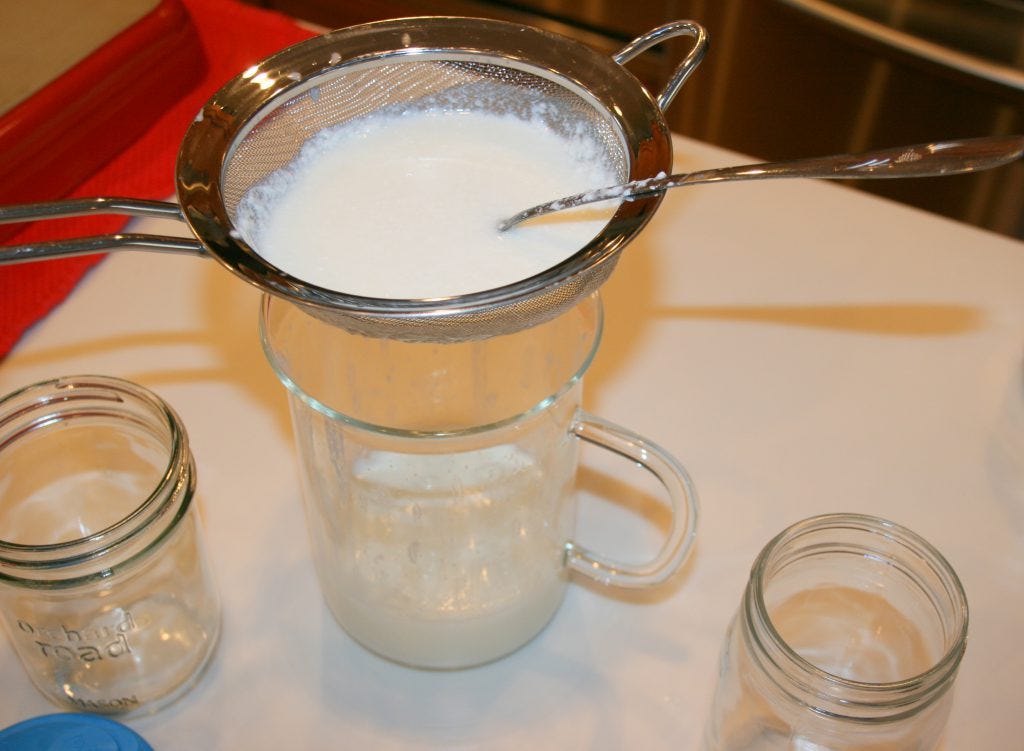
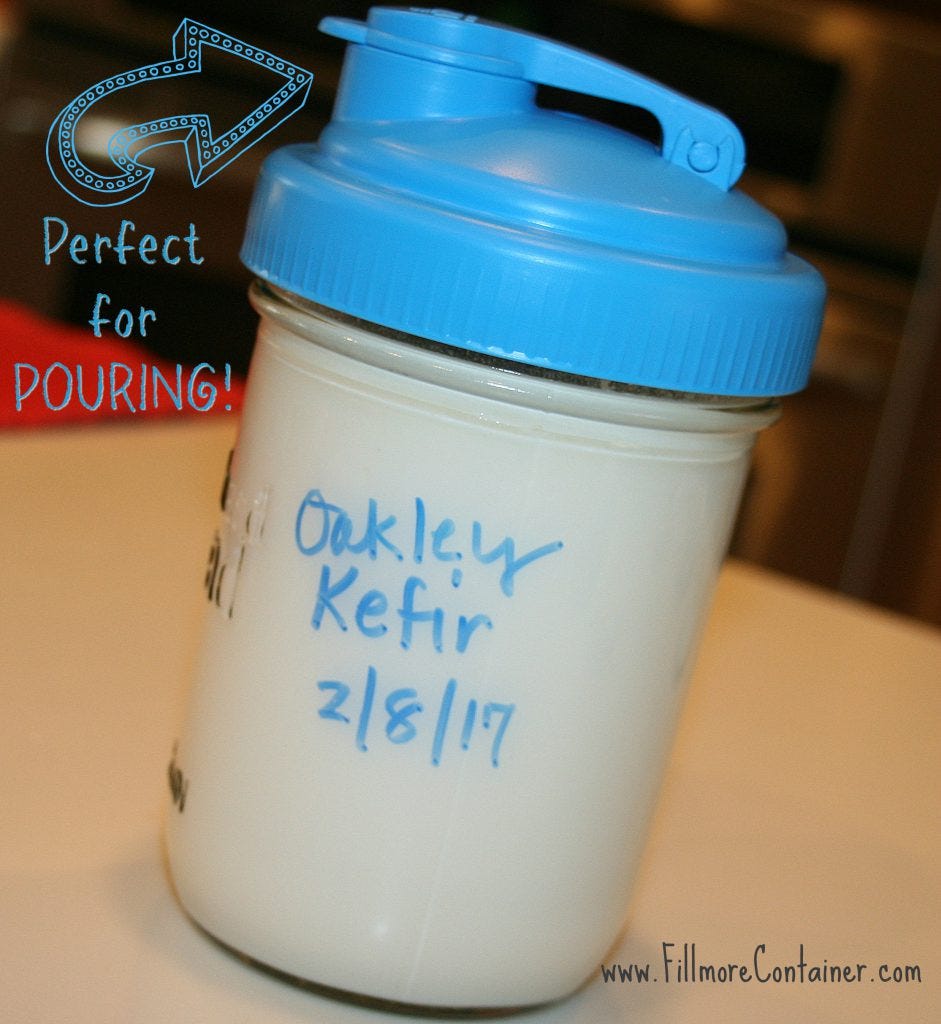
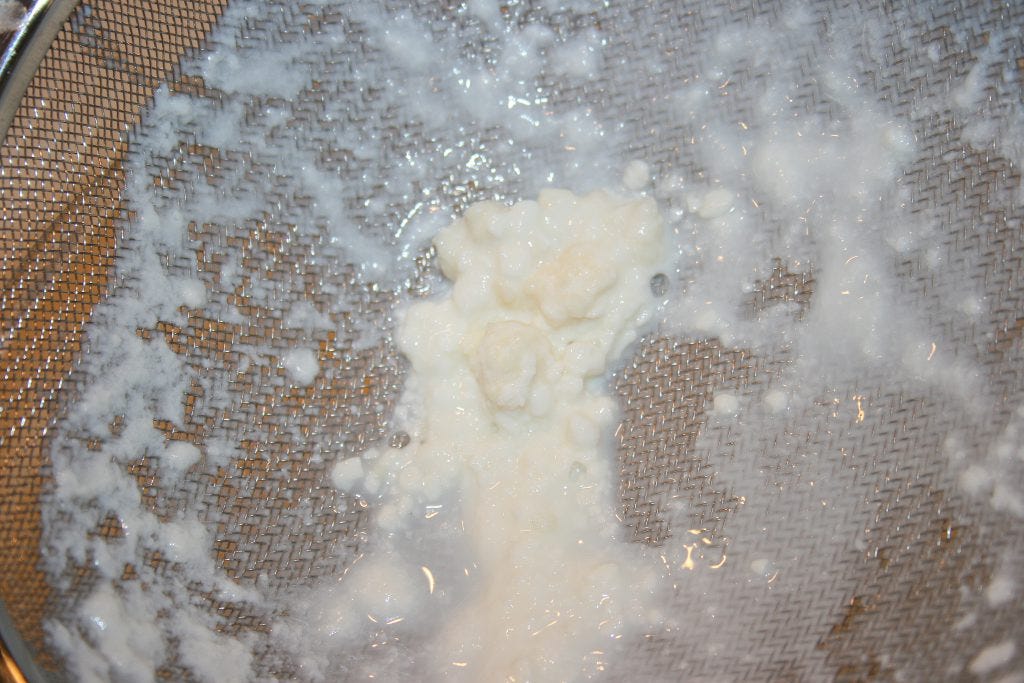
When I’m pleased with the level of fermentation, I gather 2 fresh jars & lids, my strainer, a container for collecting and a spoon. I pour the kefir into the strainer while gently moving the grains around so that the kefir can pass through. The grains that remain in the strainer get placed into a clean jar which is then covered 3/4 full with milk and refrigerated. The strained milk kefir gets poured into a clean jar, capped and labeled with the date and refrigerated. At this point, you could add some flavor to your milk kefir by way of fruits or juices, or do a secondary ferment!
If you’re so inclined, you’ll find more details on the science behind this process & trouble shooting tips on Amanda’s Milk Kefir Guide. You can also find more ways to brighten up your milk kefir drink like this Cinnamon Maple Milk Kefir.
Need a break from the drinkable version? Try these Marinated Kefir Cheese Balls!




Thanks for sharing this helpful information!
I do milk and water kefir along with kombucha and never heard kefir grains called scoby. I have always heard them referred to as grains.
Hi Marie,
Yes, they are grains. I think we were just using the SCOBY name loosely in reference to the starter grain we needed to get our kefir production started. Much like you need a SCOBY to start production of Kombucha. 🙂